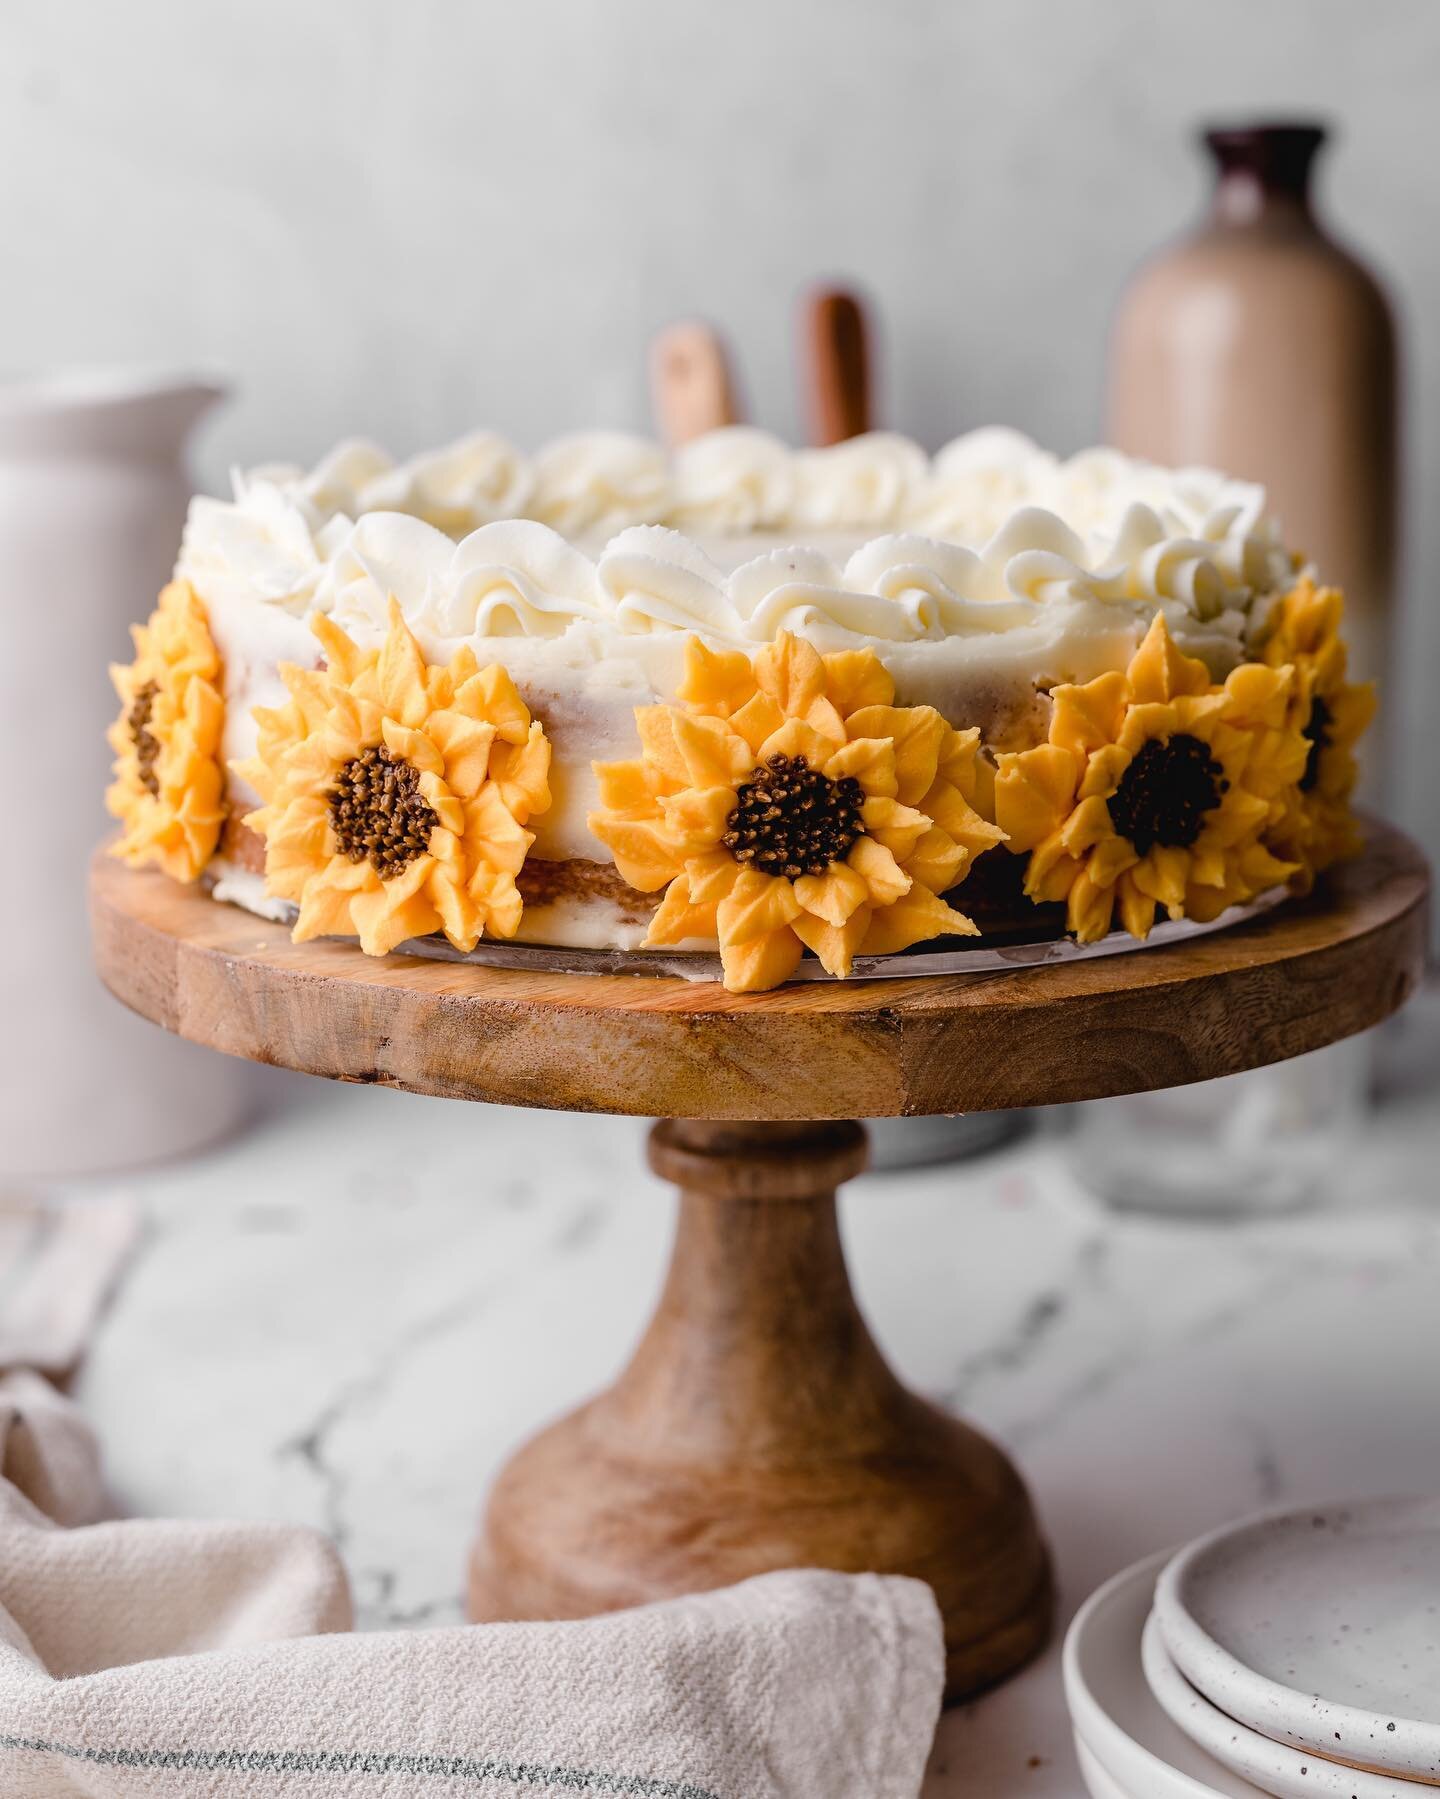
Hummingbird Cake
The happiest of cakes, boasting banana, crushed pineapple and pecans. All baked together in a delightfully fluffy sponge with just enough bite to feel satisfying.

“Hummingbird Cake” is as happy as it sounds. This cake has mashed bananas, crushed pineapple and pecans. In general, the variety of this cake crumb can range from quite dense to soft and fluffy—I chose the latter. Below is all the information needed to successfully make a beautiful Hummingbird Cake.
What Makes This Hummingbird Cake Special?
The flavors are a given, but achieving the right texture—not so easy. I took painstaking care to test this recipe to make sure the end product wasn’t stodgy or too dense. By draining the crushed pineapple and separating if from its juices, we avoid the batter getting bogged down by the fruit. I made sure to mash the bananas until they were in liquid form, allowing them to become one with the batter. Further, I chopped the pecans small so they are evenly distributed, giving each bite of cake the perfect nuttiness.
Tip And Tricks For The Hummingbird Cake
1.) Mash the bananas WELL! Mash the bananas and then mash some more. Even better? Use a food processor. I usually mash the bananas by hand and do so until they are a liquid—that is the correct consistency. Further, the bananas should be very ripe. My favorite way to bake with a banana is when the entire skin is nearly all black.
2.) Drain the crushed pineapple from its juices, making sure to reserve a half cup for the cake. Squeeze out any additional juice from the pineapple—this is critical. This prevents the cake from being bogged down by the fruit when baked.
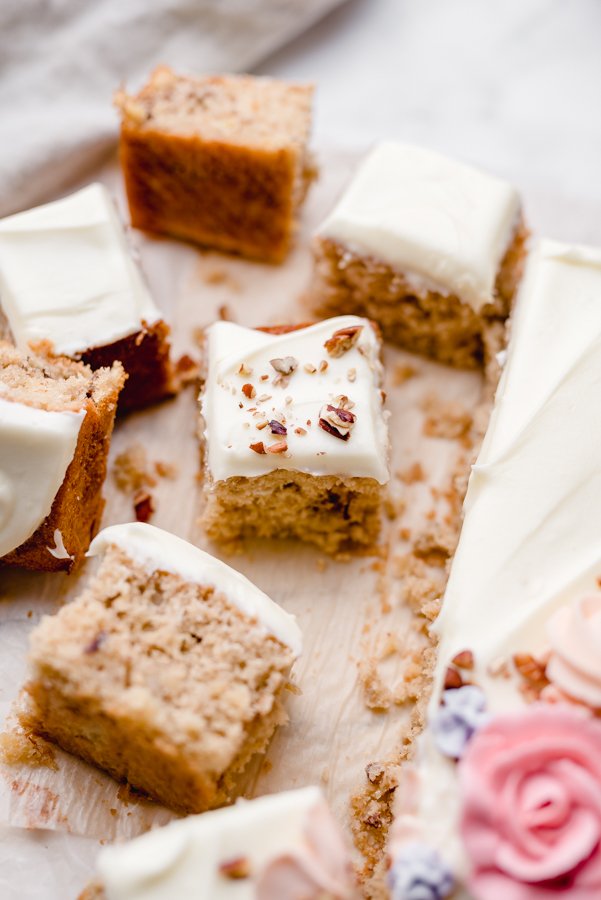
3.) Don’t skip the cake flour. Using cake flour shouldn’t be intimidating or uncommon. It’s called ”cake” flour after all! For this hummingbird cake, using cake flour is critical. The ingredients used—pineapple, banana, nuts—are all ingredients that can weigh down a cake. The cake flour acts as a counterpoint, yielding a beautiful texture despite the additional ingredients. Just look at the photos to see for yourself!
4.) Follow the mixing times allocated in the recipe instructions. This will ensure air is beaten into the batter yielding a delicious cake.
5.) Spoon and level the flour. By spooning and leveling the flour, it ensures the flour isn’t packed into the measuring cup. This can drastically change a baked good from delicious to dry and unappealing. More about this topic can be found in the next section.

Properly Measuring Flour
Many seasoned bakers recommend weighing ingredients for optimal accuracy—this isn’t bad advice. I do have a scale, and for macarons, and other delicate pastries, I do weigh ingredients. But for cake, I find spoon and leveling the flour a sufficient technique, for the most part. Simply, fluff the flour gently, and using a spoon, spoon the flour into the measuring cup, and once it’s domed over the measuring cup, simply scrape away the excess flour with a knife, back into the bulk flour. Why is this important? Too much flour is a nasty culprit of many baked goods going awry, creating heavy, dense and dry bakes. Measuring the flour correctly provides a whole new world of baking—yielding light desserts that are delicate and delicious.
How To Store Hummingbird Cake
Once the cake is baked, it should be left on the counter until cooled completely. If the cake intends to be decorated the same day its made, it can be covered with saran wrap until ready to decorate. If it being decorated the next day, cover the cake with saran wrap and place in the fridge. Once the cake is decorated with the cream cheese icing it can remain out at room temperature for a few hours, but leftovers should be placed back in the fridge. Cream cheese icing should not be left out overnight.
Final Tip
For easy lifting, grease the 9x13 pan with butter and then line with parchment paper. Once the cake is fully cooled, it can be easily lifted out of the pan, and placed on a serving platter. If decorating the whole cake, carefully rid of the parchment paper, but if just decorating the top, the parchment can be cut away flesh to the sides of the cake. Once the cake is decorated, cut into chunks and enjoy!
Hummingbird Cake

Ingredients
- 8 ounces crushed pineapple
- 1/2 cup crushed pineapple juice
- 1 stick salted butter, room temperature
- 1 cup granulated sugar
- 1 cup brown sugar, lightly packed
- 1/3 cup canola oil
- 3 large eggs, room temperature
- 2 teaspoon vanilla extract
- 3 cups cake flour
- 2 teaspoon baking powder
- 1 teaspoon baking soda
- 1 teaspoon cinnamon
- 1/2 teaspoon salt
- 1 cup buttermilk, room temperature
- 1 1/2 cups ripe bananas, mashed well (about 3-4 bananas depending on size)
- 1/2 cup pecans, chopped small
- 8 ounce block cream cheese, room temperature
- 1 stick butter, room temperature
- 1/4 teaspoon vanilla
- 3 cups powdered sugar
Instructions
- Preheat oven 350 degrees F. Butter and flour one 9X13 pan. Line with parchment paper for easy lifting and cutting.
- Open an 8 ounce can of crushed pineapple that is canned in pineapple juice. Drain the pineapple from the juice, reserving 1/2 cup. Set juice aside. Take the crushed pineapple, and using a cheese cloth or paper towel, squeeze out any leftover juice. Place crushed pineapple in between two pieces of paper towel to continue to dry while the cake is prepared.
- In a mixer, fitted with the paddle attachment, cream the butter and sugars on medium-high speed for 4 minutes. Drizzle the oil into the bowl on medium speed. Once incorporated, turn the mixer back to medium-high speed for another 2 minutes.
- Add eggs one at a time, briefly mixing batter on medium-low speed until smooth, and scraping the bowl after each egg addition. Add vanilla and briefly mix until combined.
- In a separate bowl, using a fine mesh sieve, sift the flour, baking powder, baking soda, cinnamon and salt. Spoon and level the flours for an accurate measurement.
- Add 1/2 cup pineapple juice and 1 cup buttermilk into a glass measuring cup. Alternating between the dry ingredients and the buttermilk mixture, add a third of the flour mixture into the mixing bowl on low speed. Immediately follow with half of the buttermilk, followed by the next third of the flour mixture, and the second half of the buttermilk. Finish with the remaining flour mixture. The mixer should be kept on low speed, so the flour and buttermilk do not splash out of the bowl. Scrape the bowl, making sure any dry ingredients trapped at the bottom are brought to the top.
- Into the bowl, add the crushed pineapple, chopped nuts and mashed banana. Give the mixture a brief mix on medium low speed, and a final scrape to properly incorporate the remaining ingredients.
- Pour batter evenly into the prepared 9x13 and place into oven. Start assessing the cake at 30 minutes. It may take up to 45 minutes depending on the oven. When a long skewer inserted comes out clean, the cake is done. Allow cake to cool completely before decorating.
- To make the cream cheese icing, with an electric mixer fitted with the whisk attachment, mix the cream cheese and butter on medium speed until there are no lumps, and the consistency is smooth. Add vanilla and mix briefly.
- Add sifted powdered sugar to the bowl, 1 cup at a time, mixing first on low speed to prevent splashing, then turning the mixer to medium-low until it's incorporated. Scrape the bowl and briefly mix one more time to complete the icing.
- Once the cake is completely cool, decorate with cream cheese icing as desired. Top with additional nuts if desired.
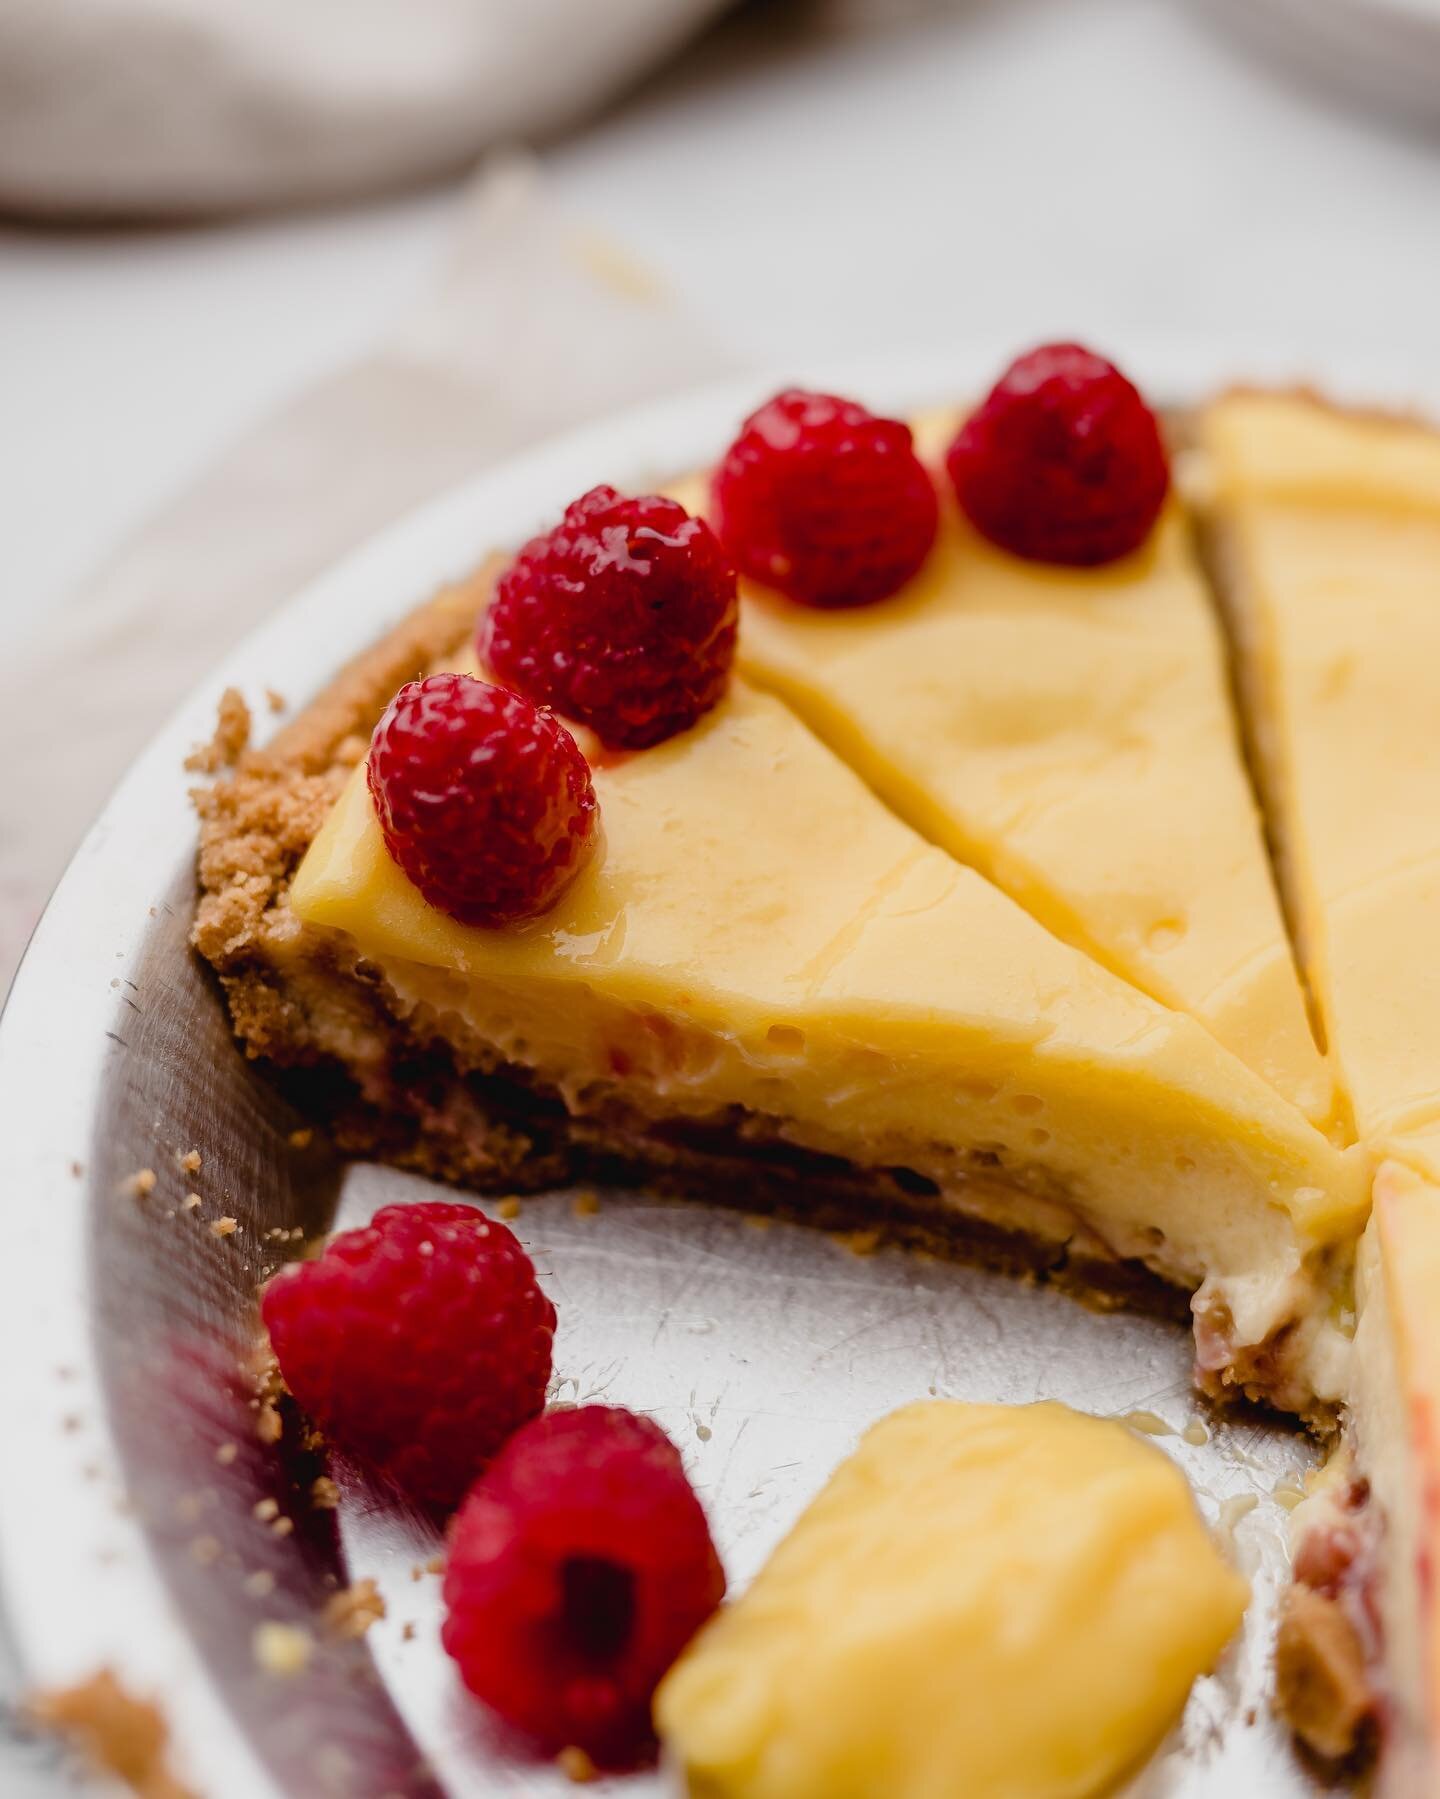
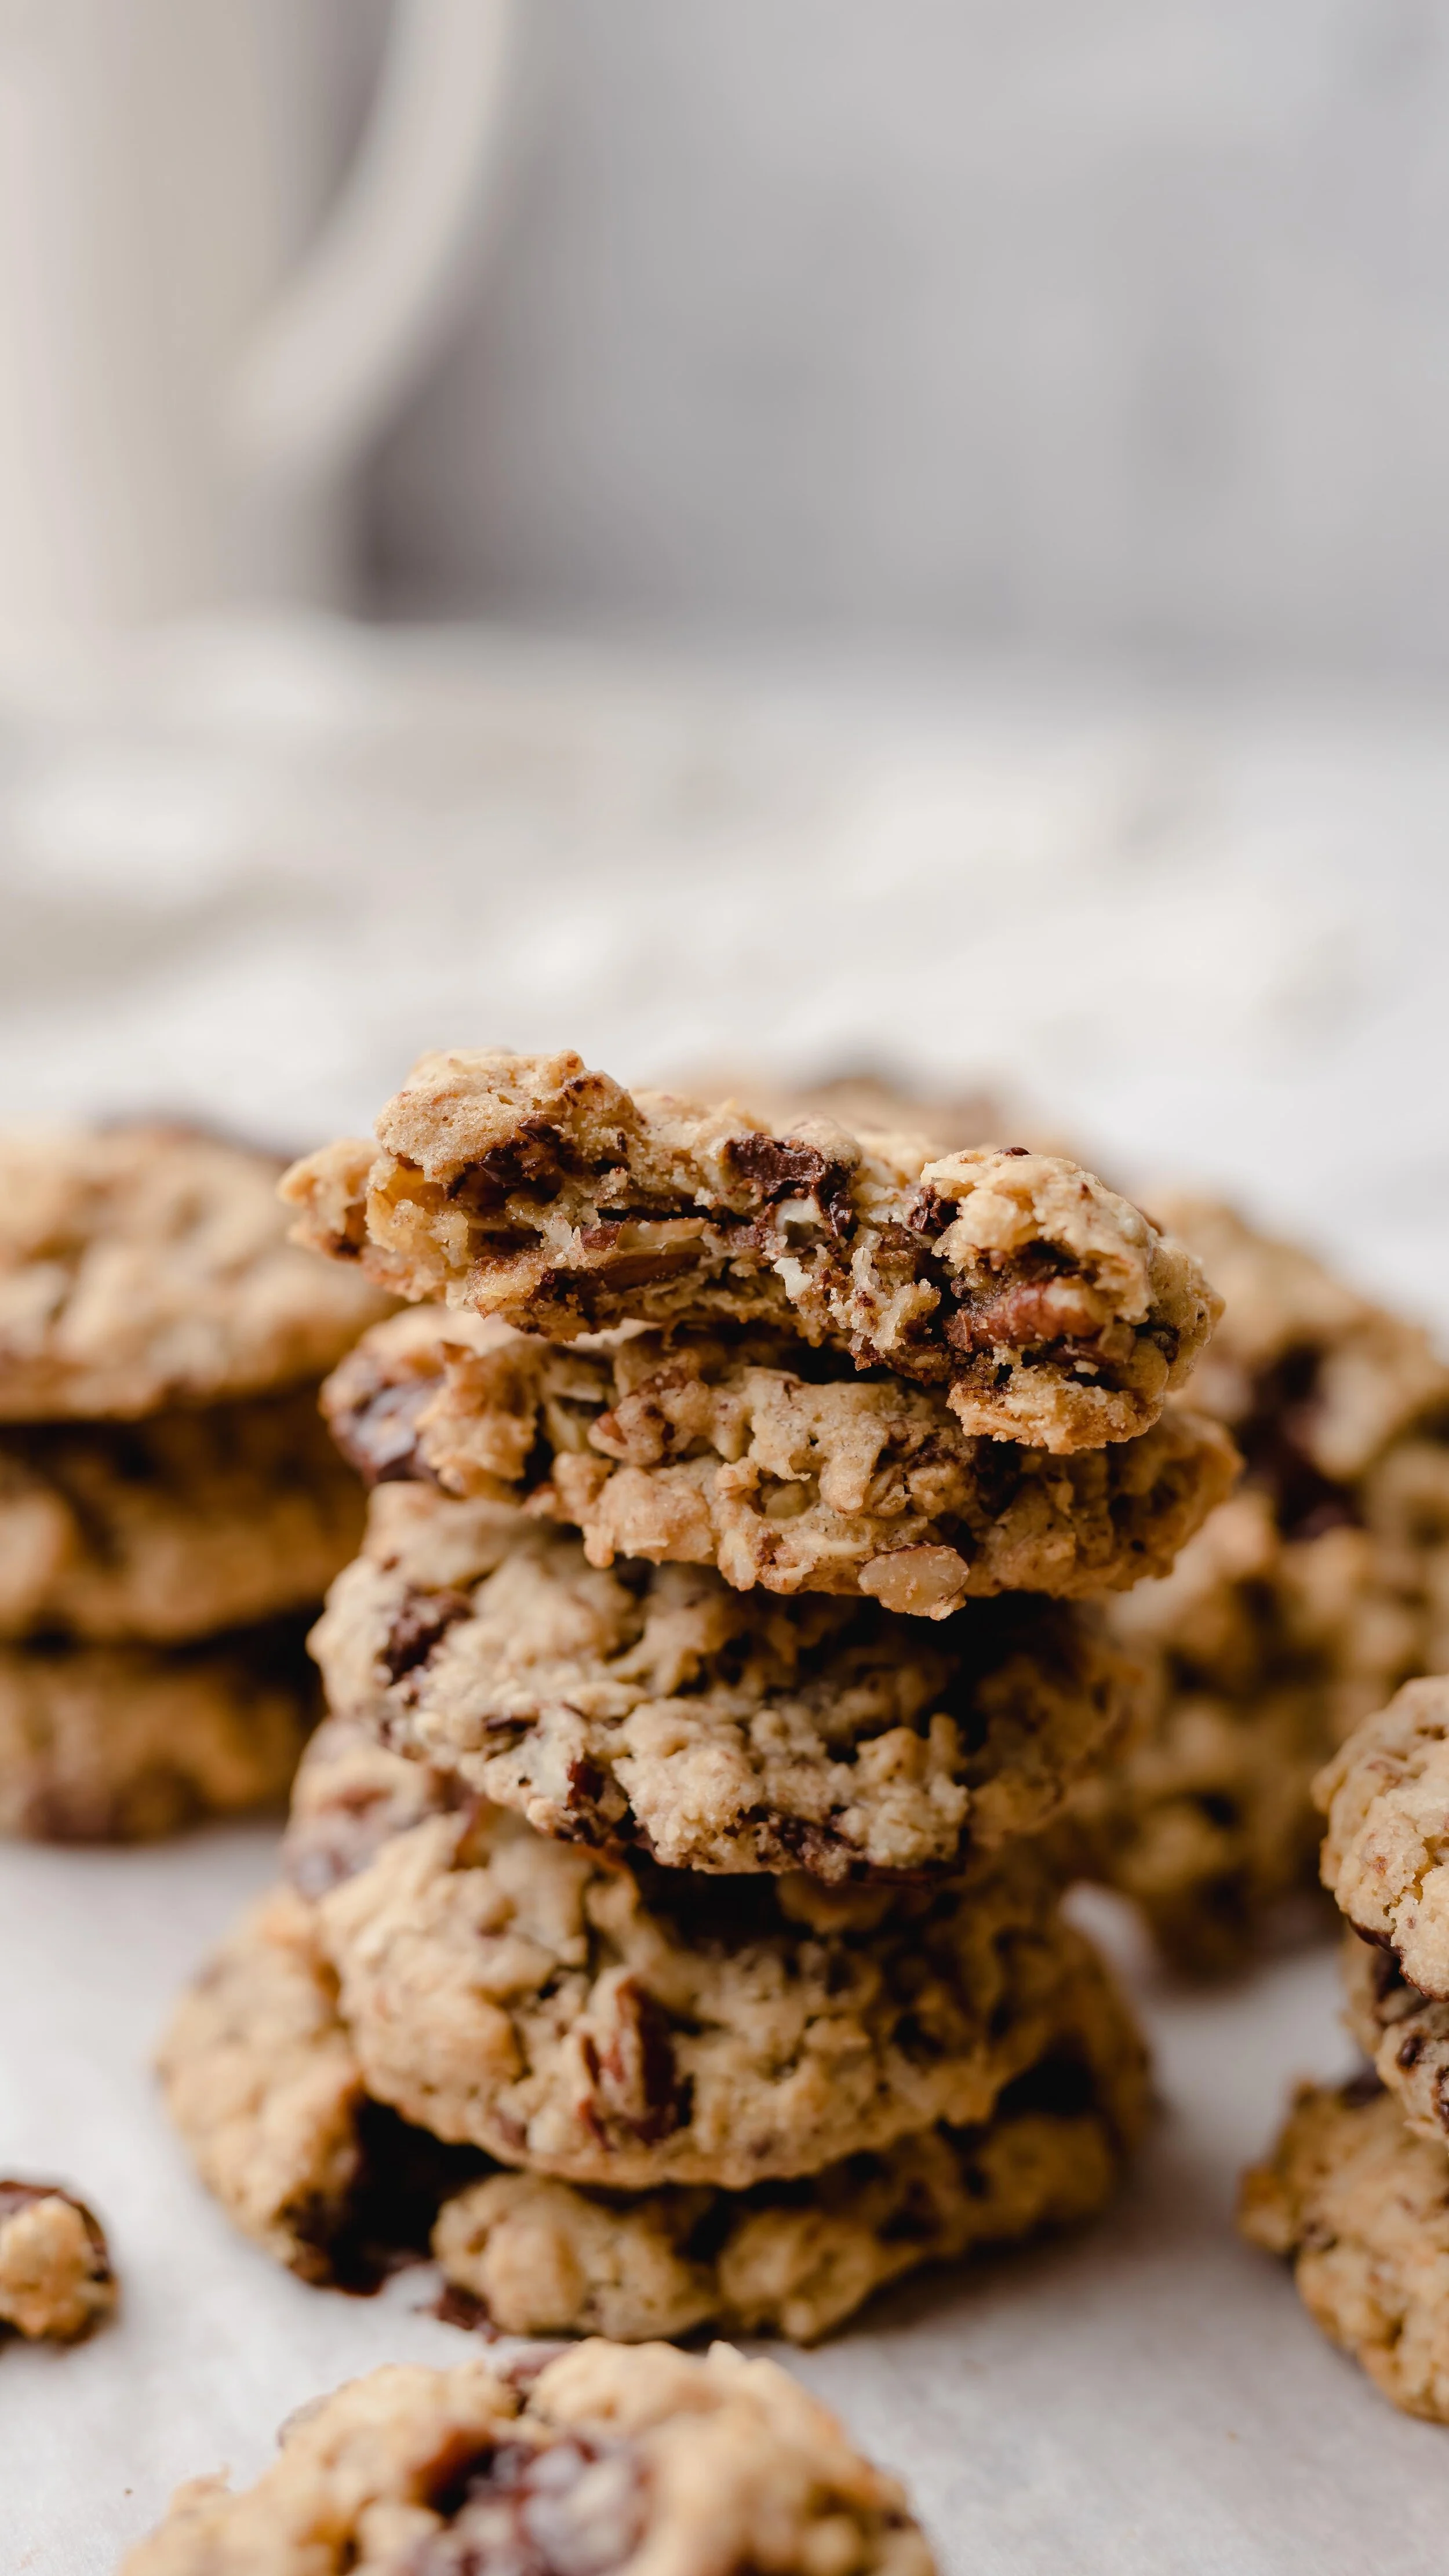
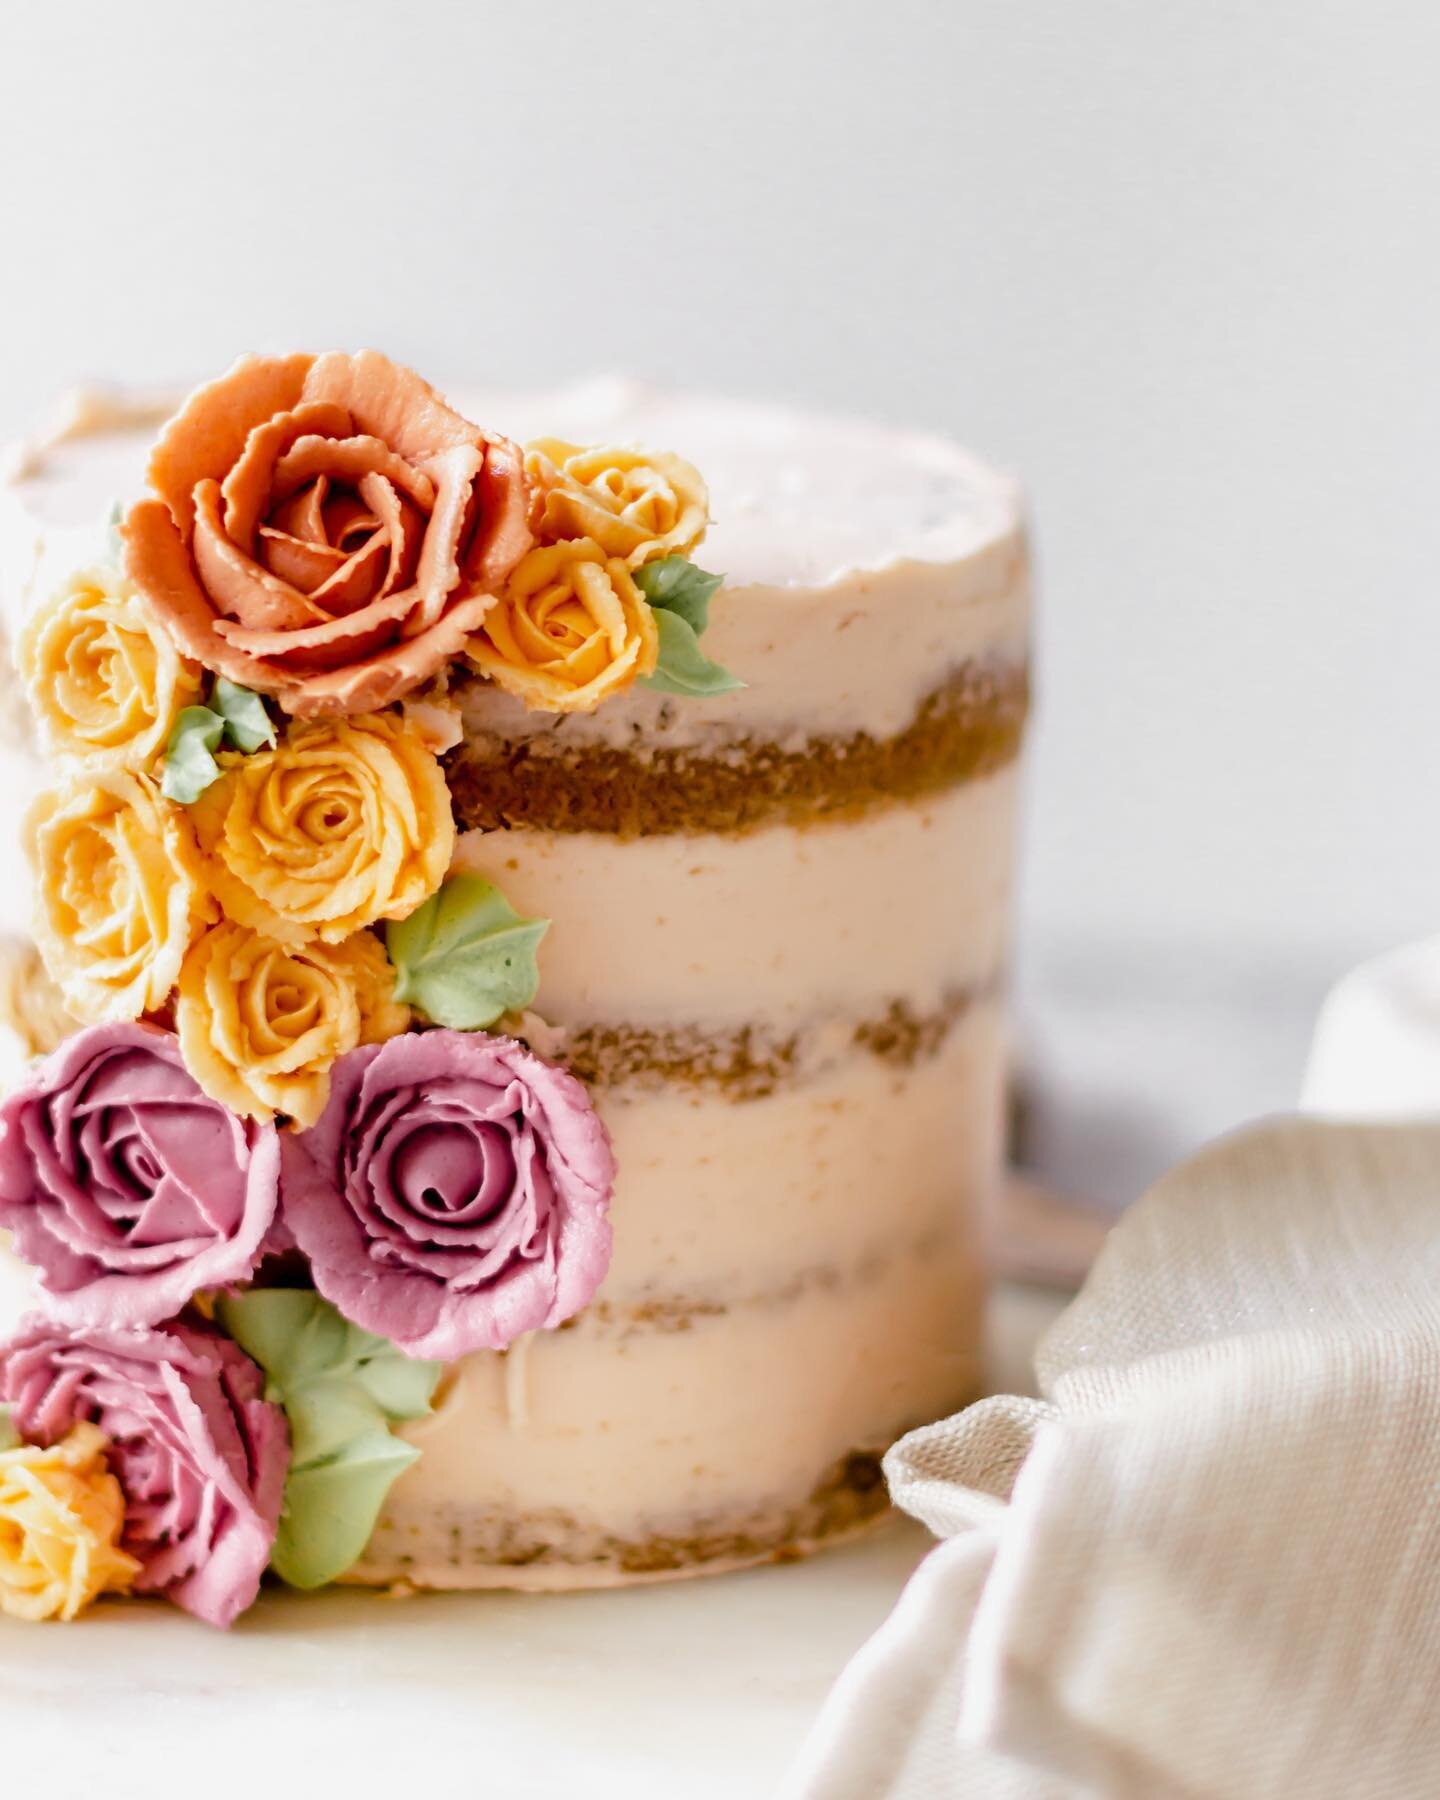
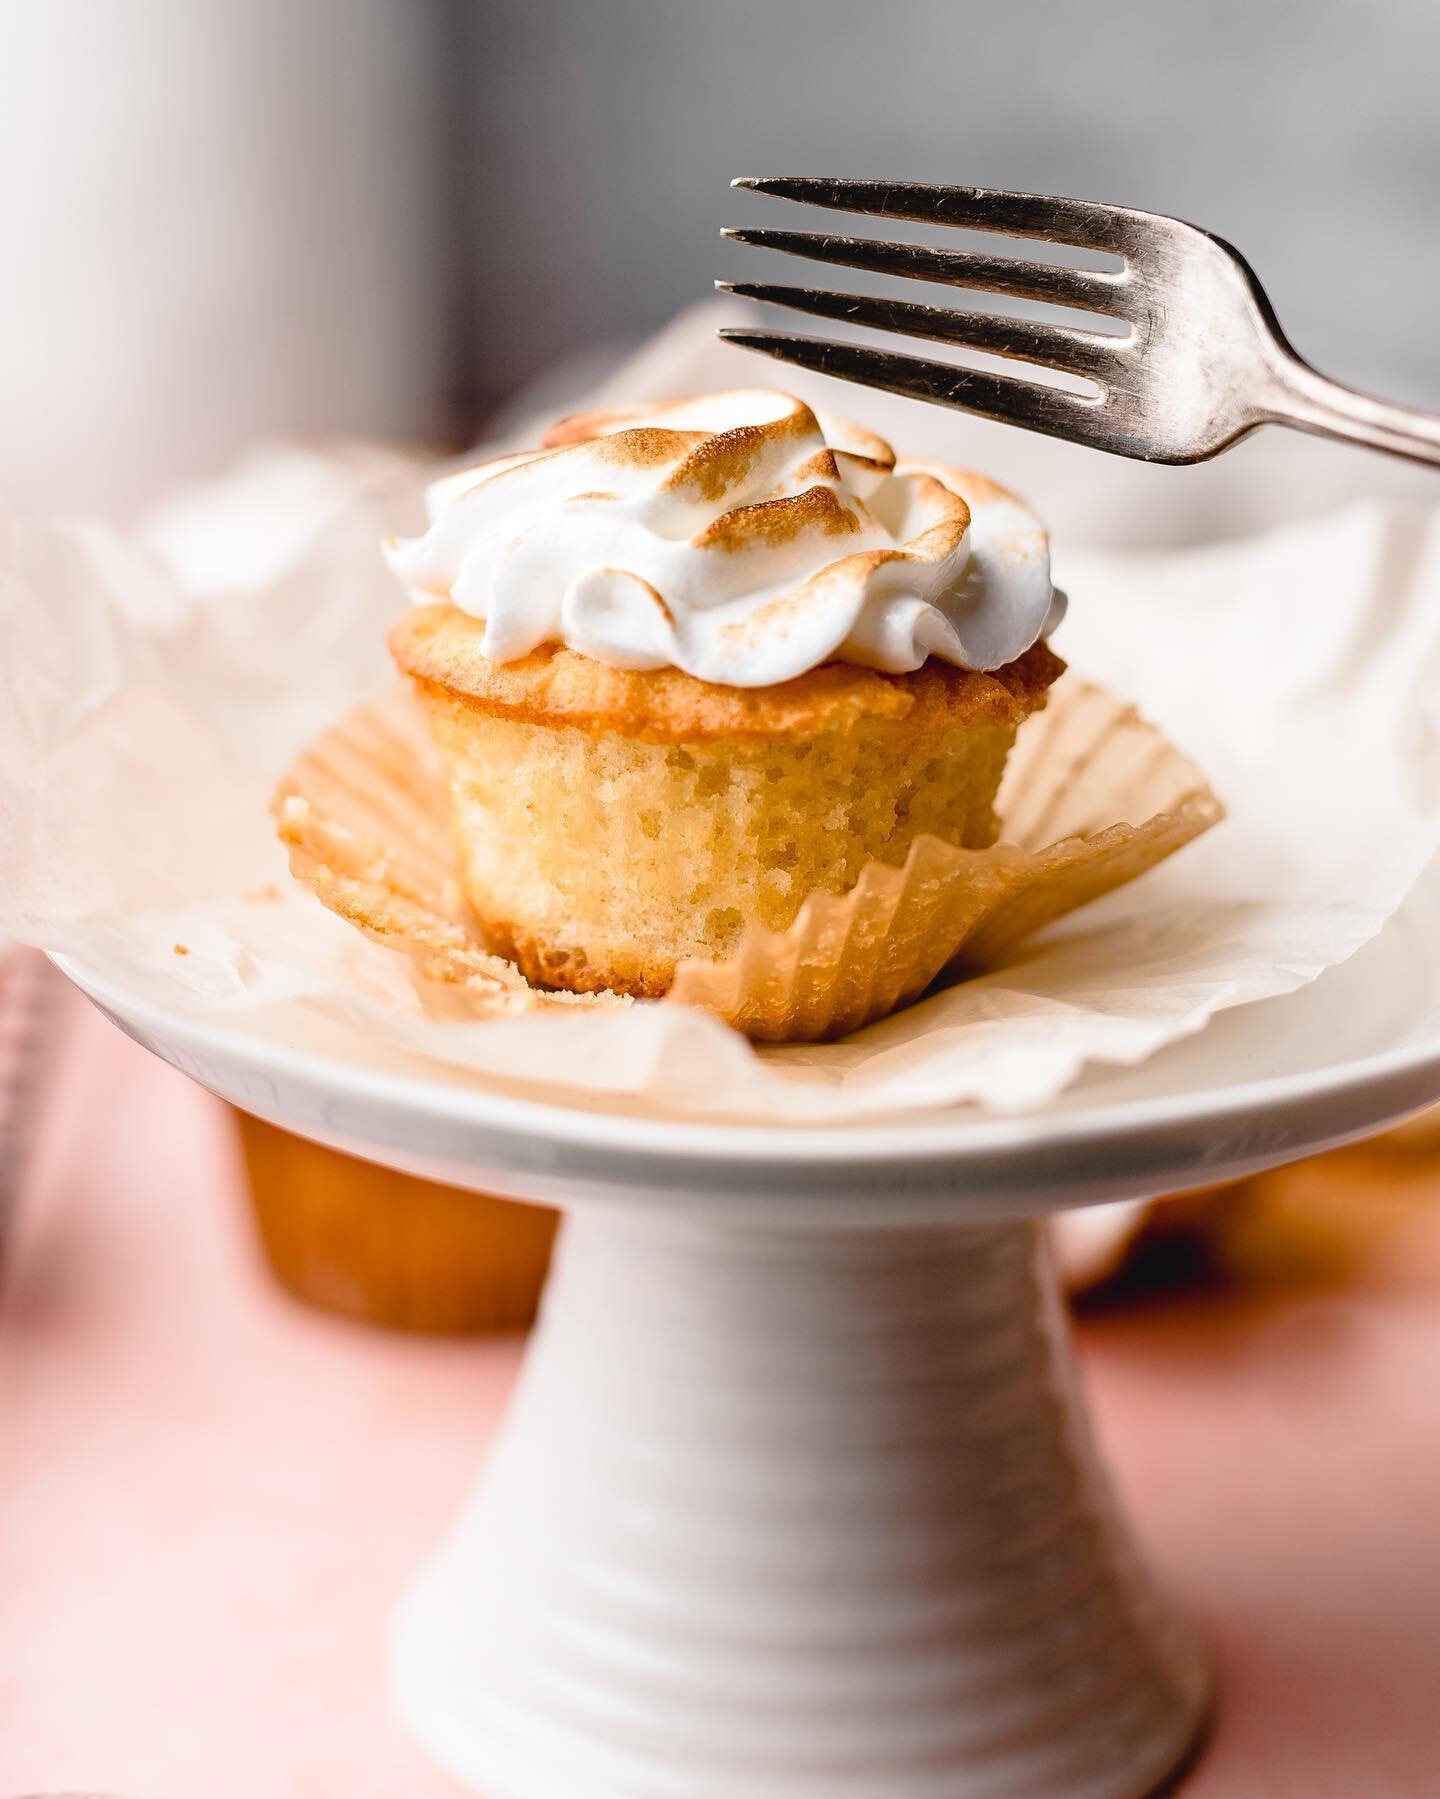
You May Like These…